Overview
Adobe XD is a vector graphics editor and prototyping tool, which is primarily web-based with additional offline features enabled by desktop applications for macOS and Windows. Follow the instructions below to obtain the kit and add it to your project.
Note: Adobe XD is in maintenance mode
1. Install Adobe XD
To design with the Modus XD UI Kit you should have the most recent version of Adobe XD installed.
2. Get the Library
- Light Mode - Modus-UI-Kit-2.1.3.xd
- Dark Mode - Modus-UI-Kit-Darkmode-1.0.xd
3. Publish the Library
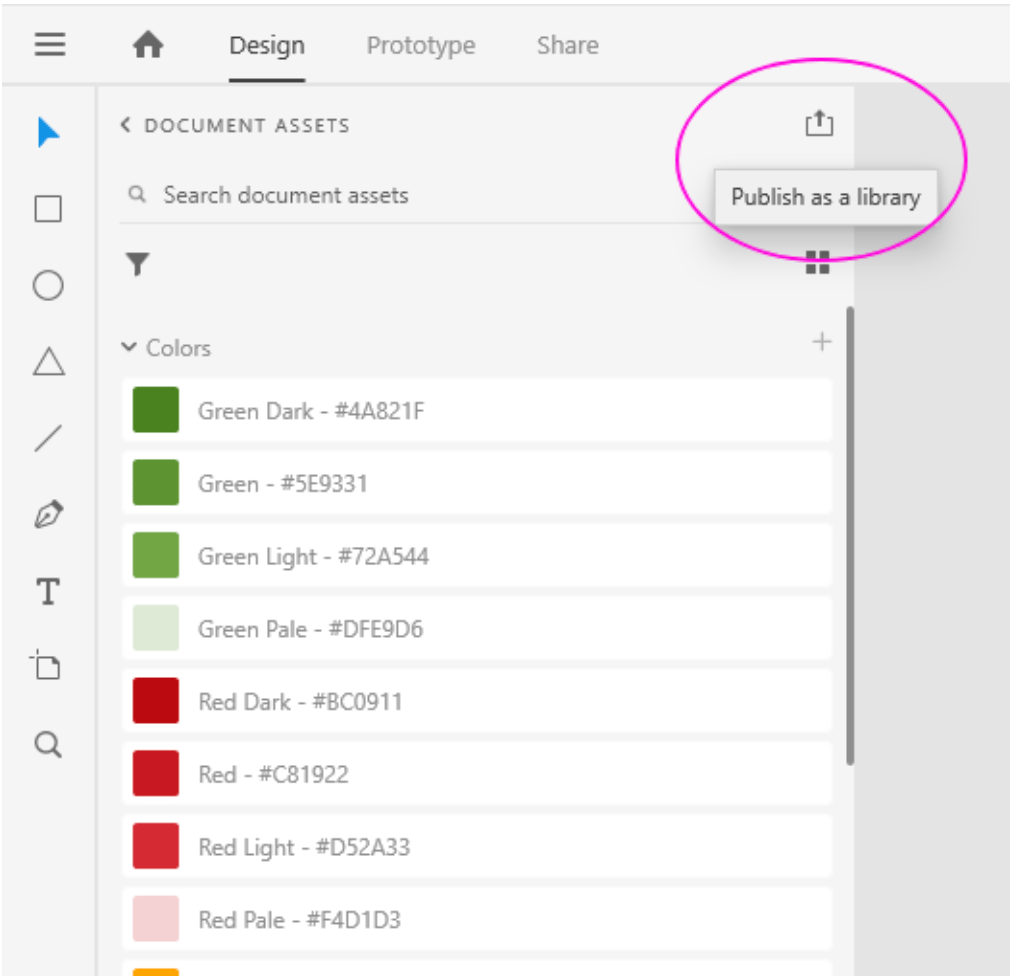
Open the file in Adobe XD. In the Assets panel, click on the “Publish as library” button in the top right of the panel.
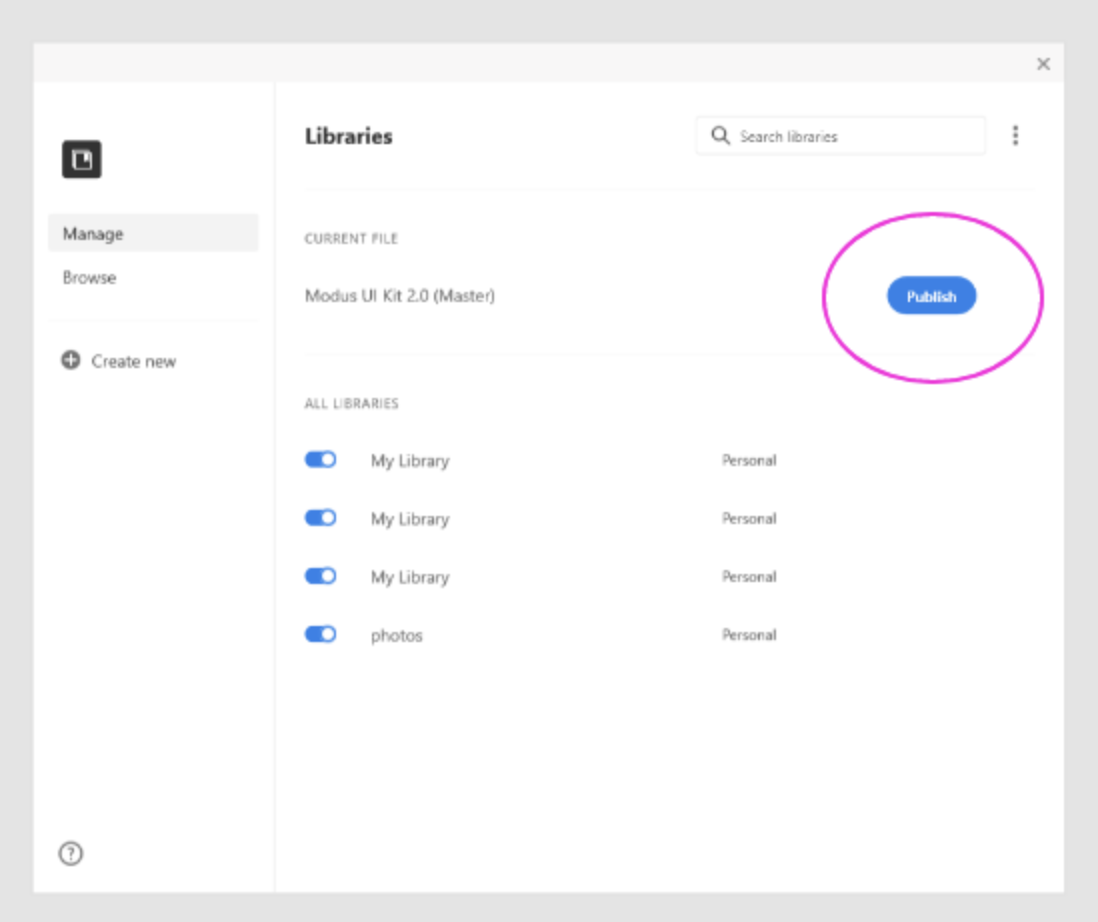
The Library dialog will be displayed. Click “Publish” as shown below.
4. Save the File as an XD Cloud Document
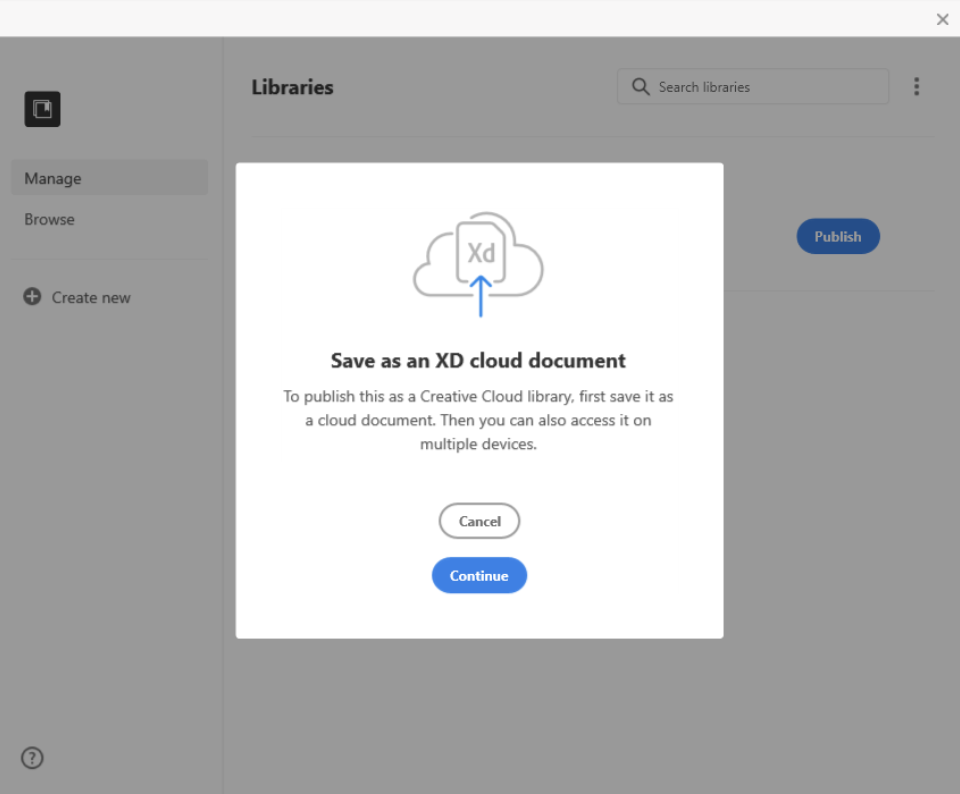
Before the library can be shared, it must first be saved to Adobe’s Creative Cloud as a cloud document. Click Continue & Save document.
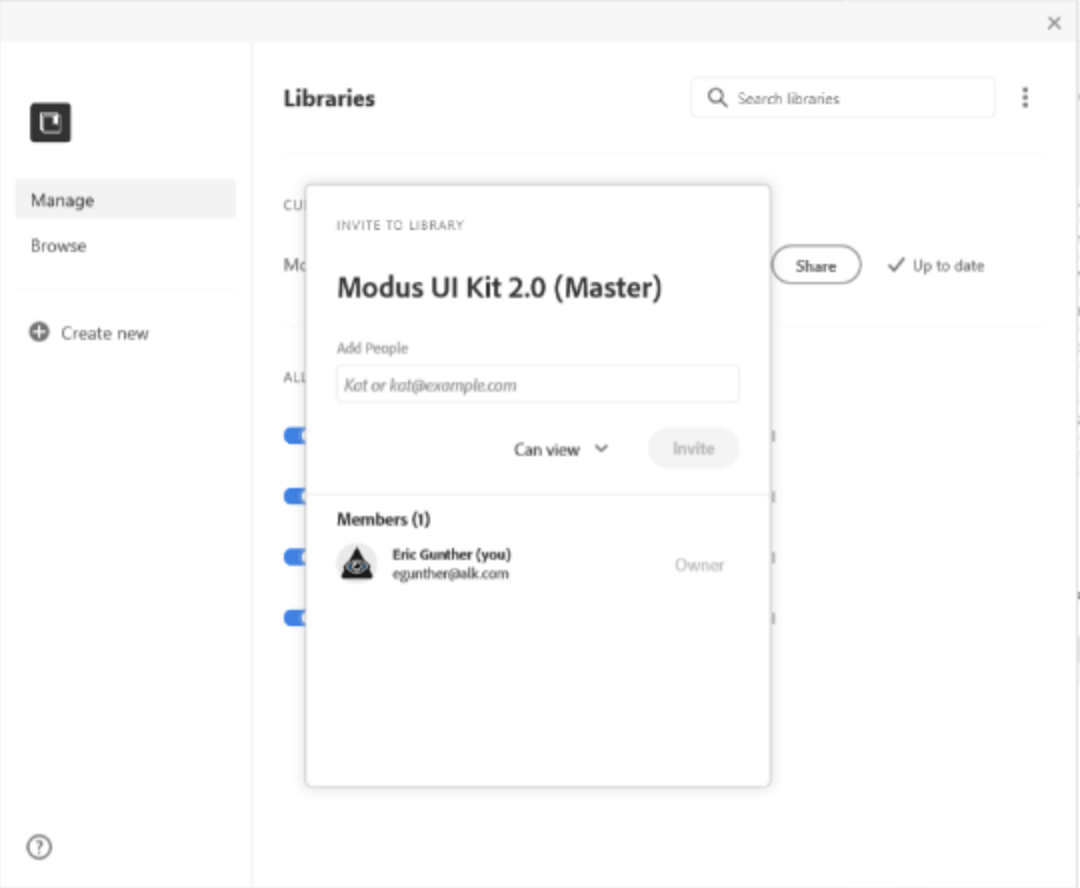
5. Share the Library with Your Team (Optional)
The library will be published, and you will be prompted to share the library. You may choose to share the library with your team now or at any time later. To share the library, enter email addresses and send the invite(s). To proceed simply close the dialog. To share the library at a later time, simply return to this screen and select “Share.”
6. Add the Library to Your Assets
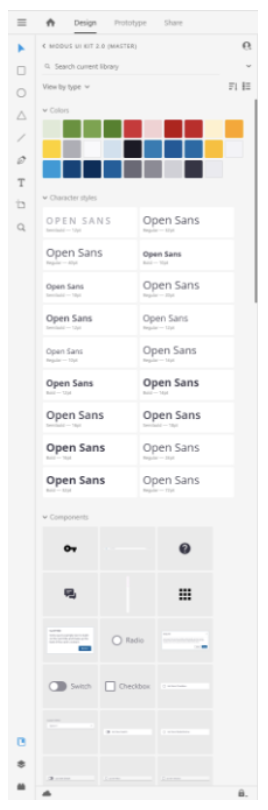
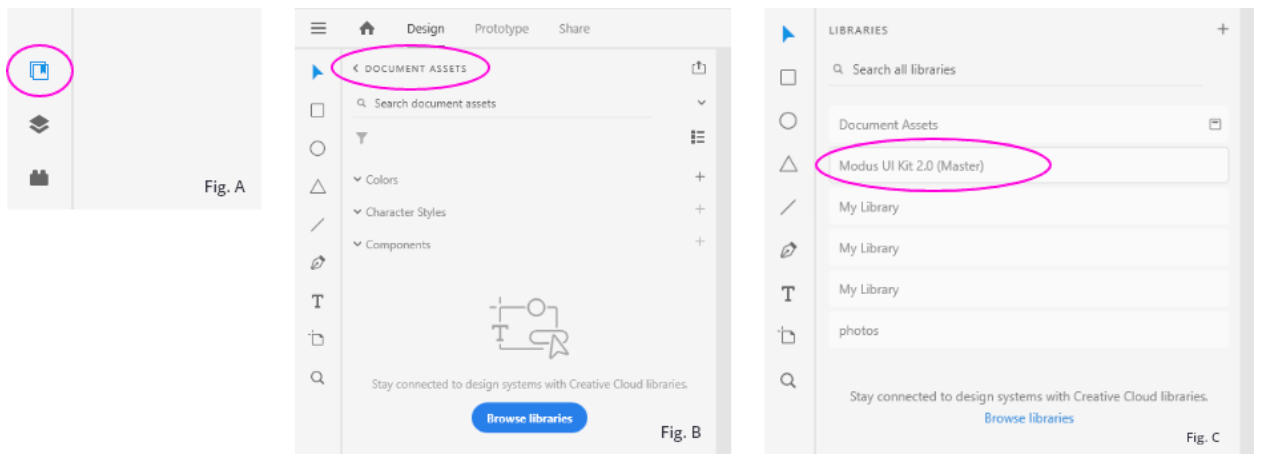
Open a new or existing XD file. Switch panel view to “Assets” (if not already displayed) by clicking on the “Assets” icon in the bottom left (see Fig. A below). In the Assets panel, click “Document Assets” (see Fig. B below). Select the Modus UI Kit from the library list (see Fig C). The library of components is added to your document.
7. Start Designing and Prototyping!
Now that you’ve added the Modus library to your document, you are ready to go! Now you can start designing awesome UI’s. Need help using Adobe XD?